For Interior Designers
AI Rendering for Interior Designers
Upload a floor plan or sketch and develop your design in 2D and 3D. Turn photos of real furniture into 3D models, create more realistic interior renders, and edit just the areas you want to refine before presenting to your client.

Your workflow, connected
Explore first. Refine. Then present.
- 01
Upload your starting point
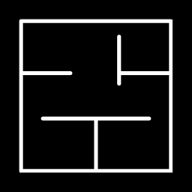
Upload a floor plan or sketch to create an editable layout, or start a render from a room photo.
- 02
Design in 2D and 3D
Edit the layout in 2D and 3D. Generate models from photos of real furniture to use in SketchUp or the FloorPlan AI editor.
- 03
Render and refine
Create interior renders, select specific areas, and describe only the changes you want to make.
- 04
Prepare the presentation
Select the strongest interior renders and organize your chosen direction for client review.
01 / From plan or sketch to 3D
Bring your plan. Make it your design.
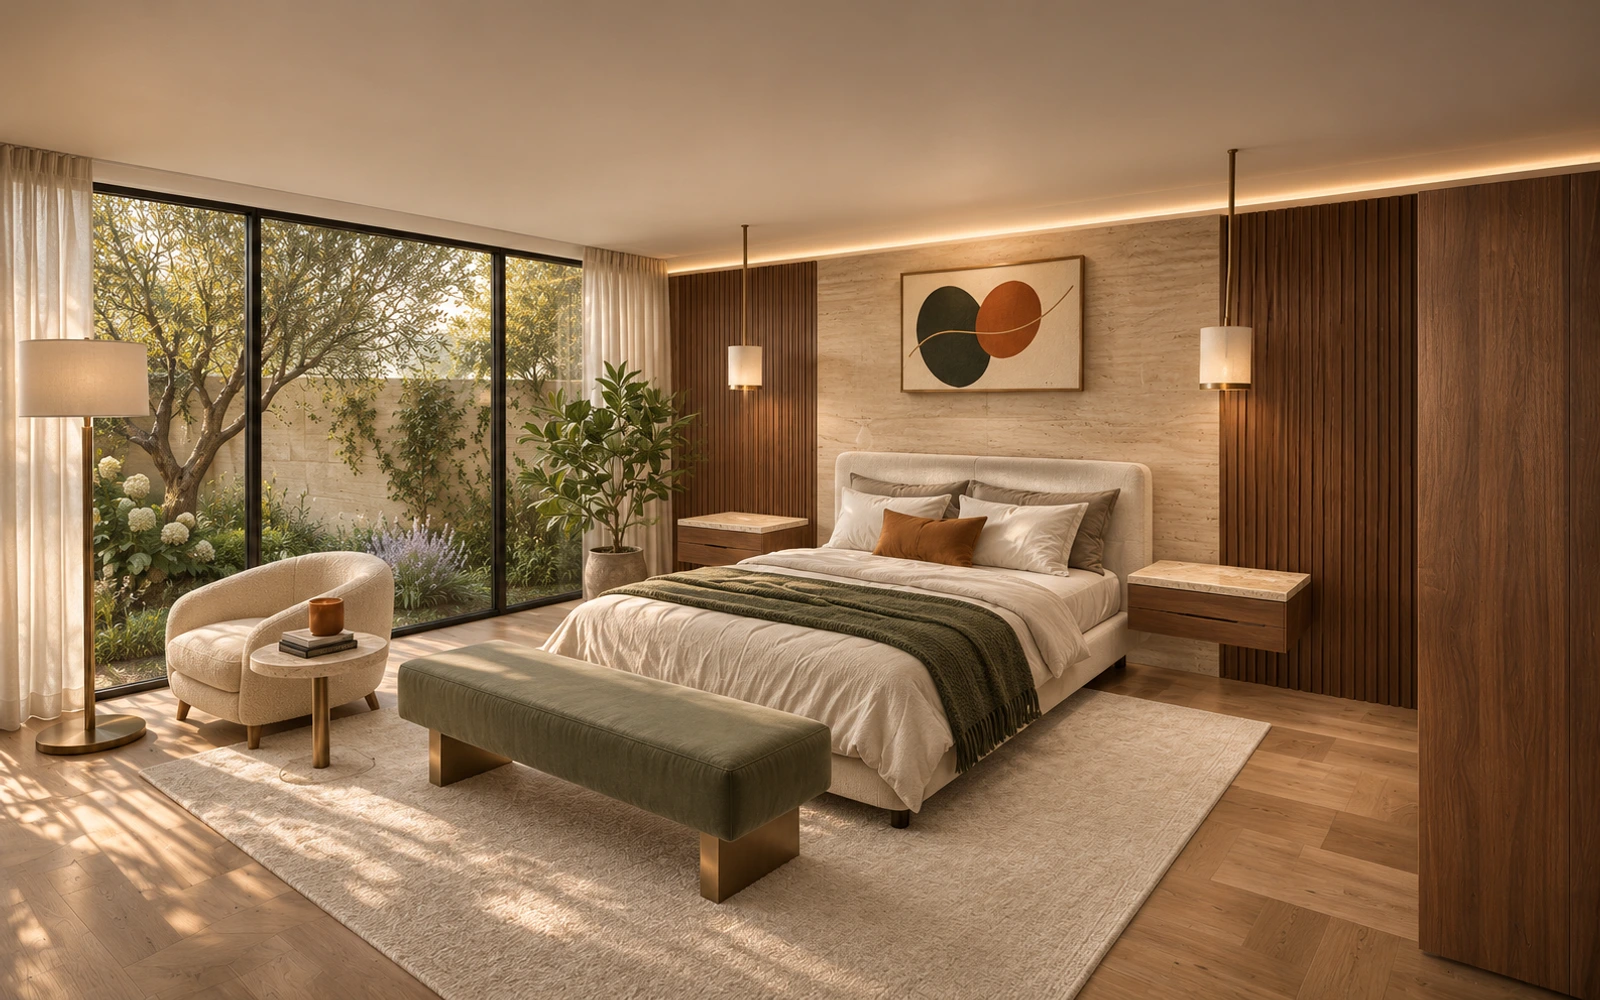
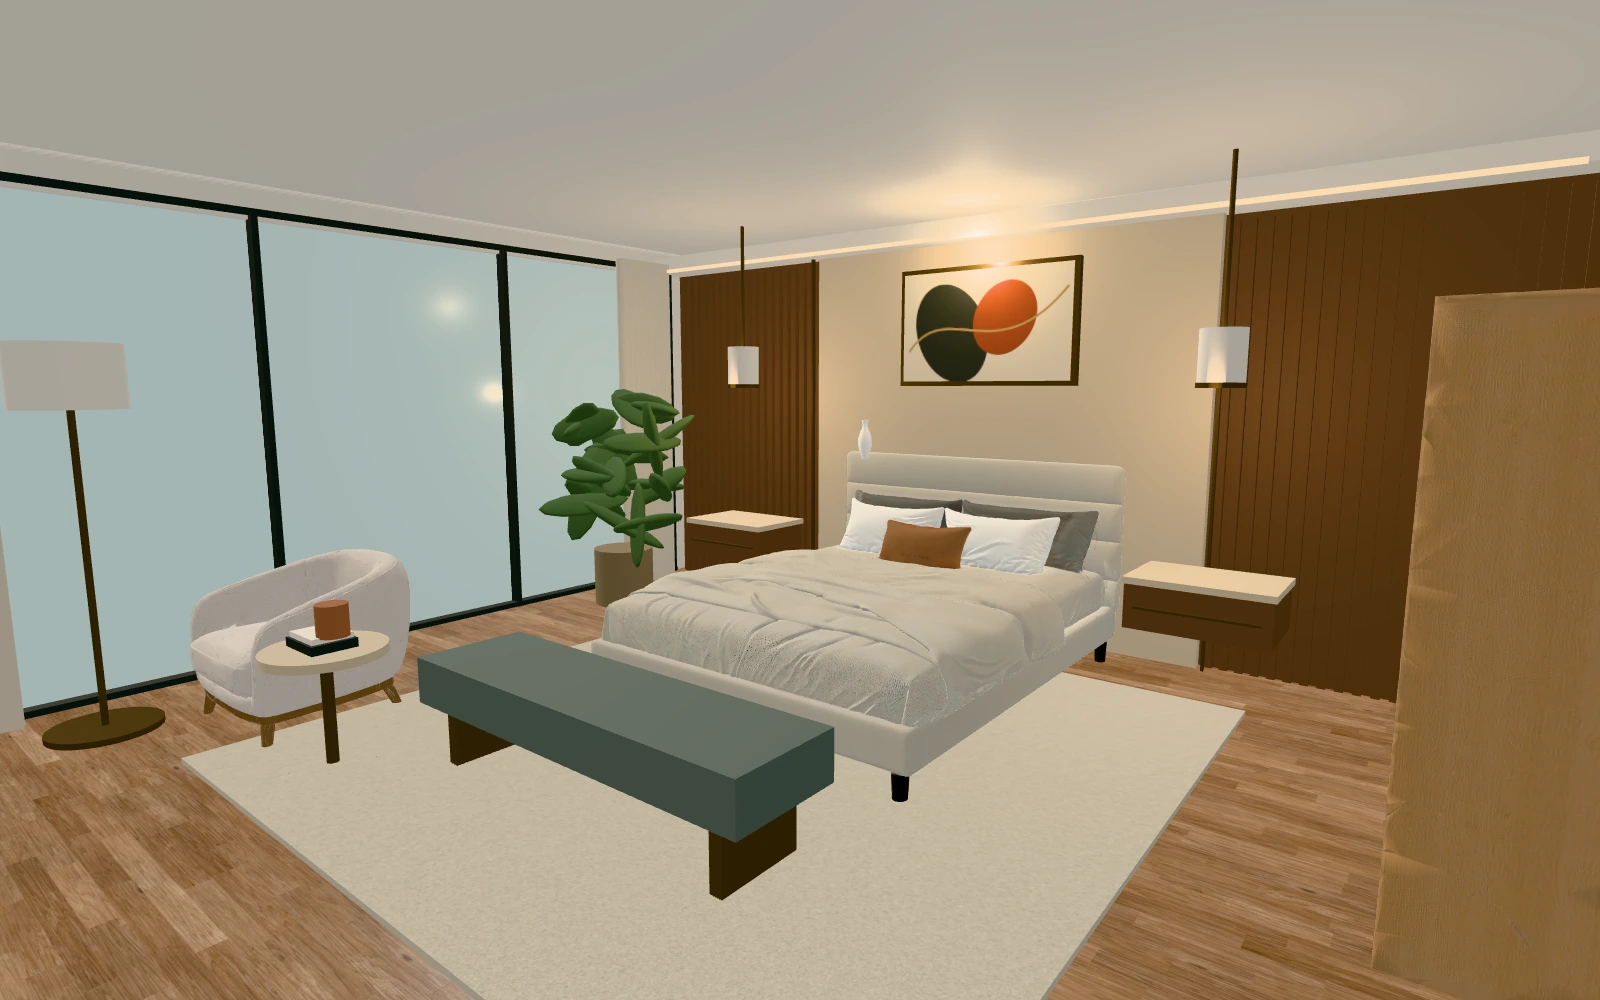
Upload an existing floor plan or a hand-drawn sketch and turn it into a layout you can edit in 2D and 3D. Apply floor finishes, place real furniture models, and turn your furnished 3D view into an interior render.
- Start with an image of your floor plan or sketch.
- Edit the layout, openings, and furniture in 2D and 3D.
- Choose floor finishes and add real furniture models to the scene.
- Create a render from your furnished 3D view.
02 / Redesign in context
See what the room could become.
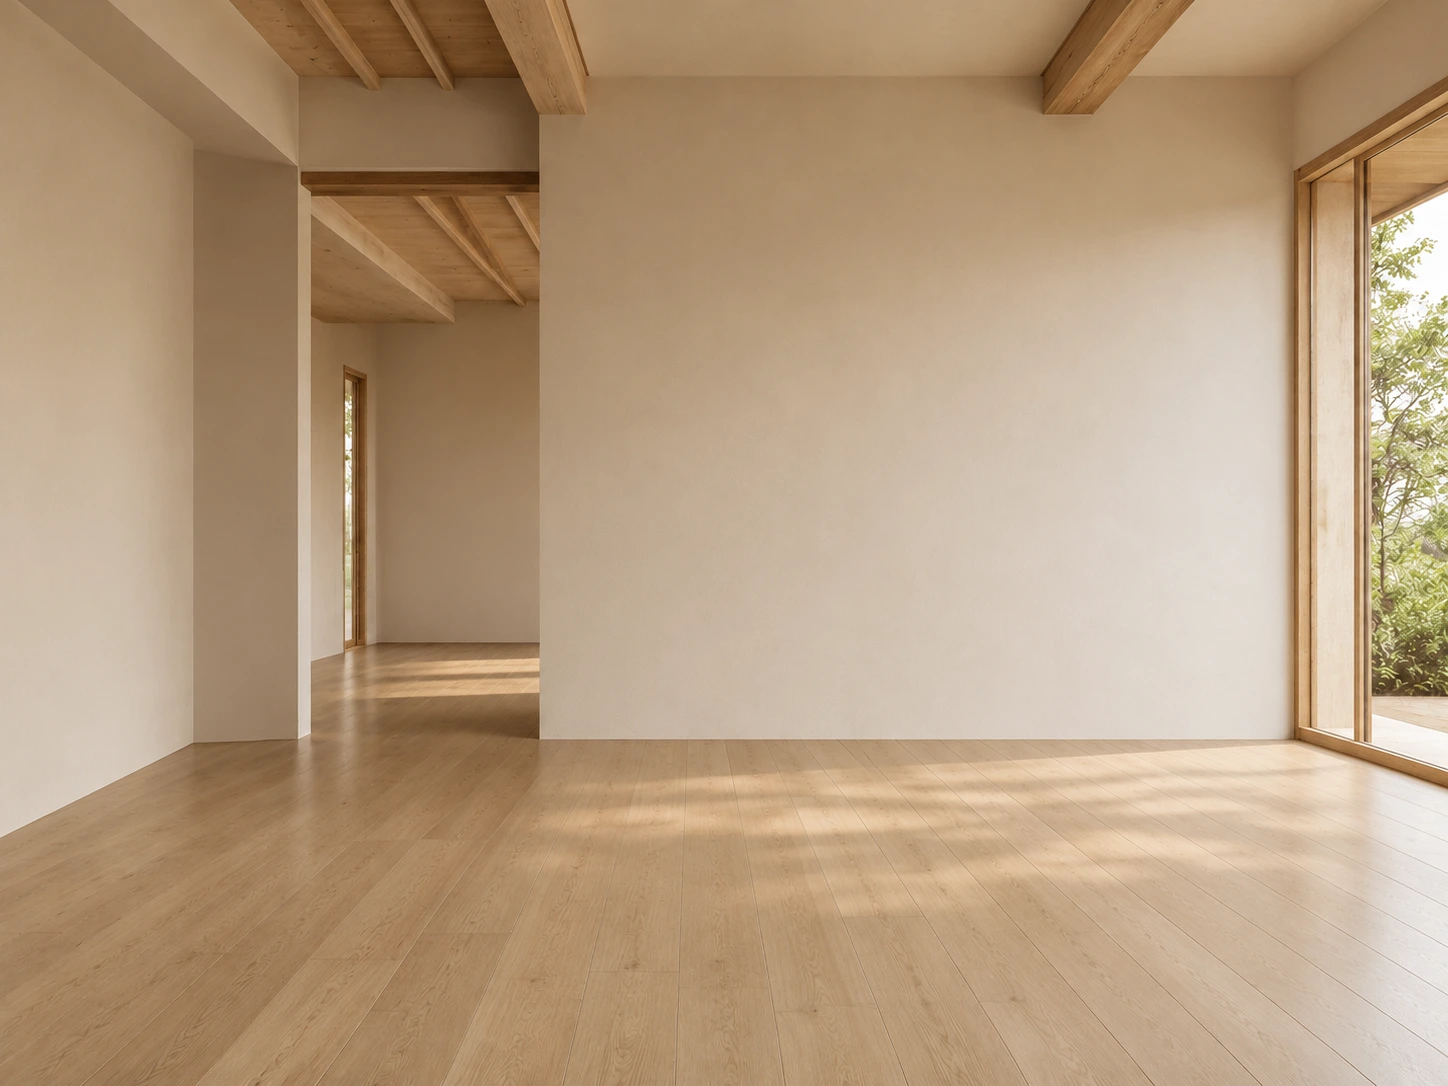
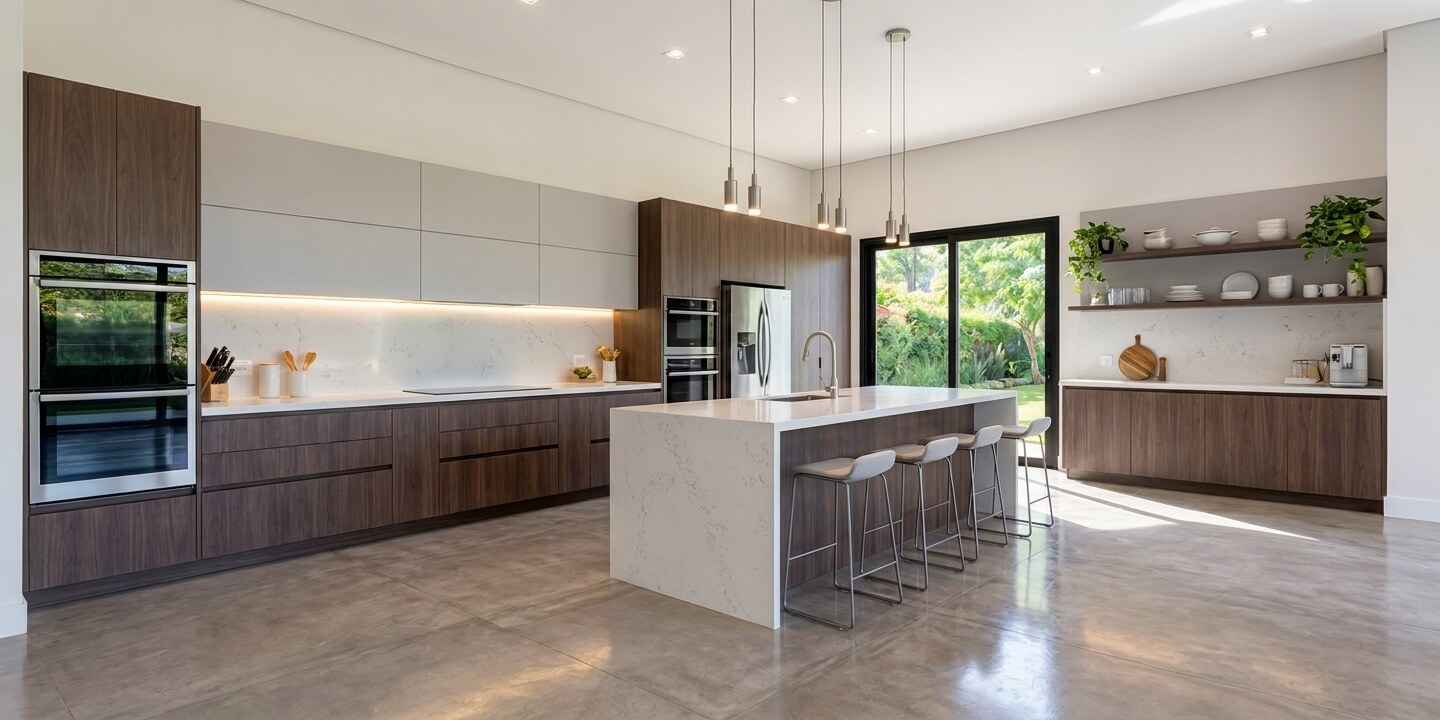
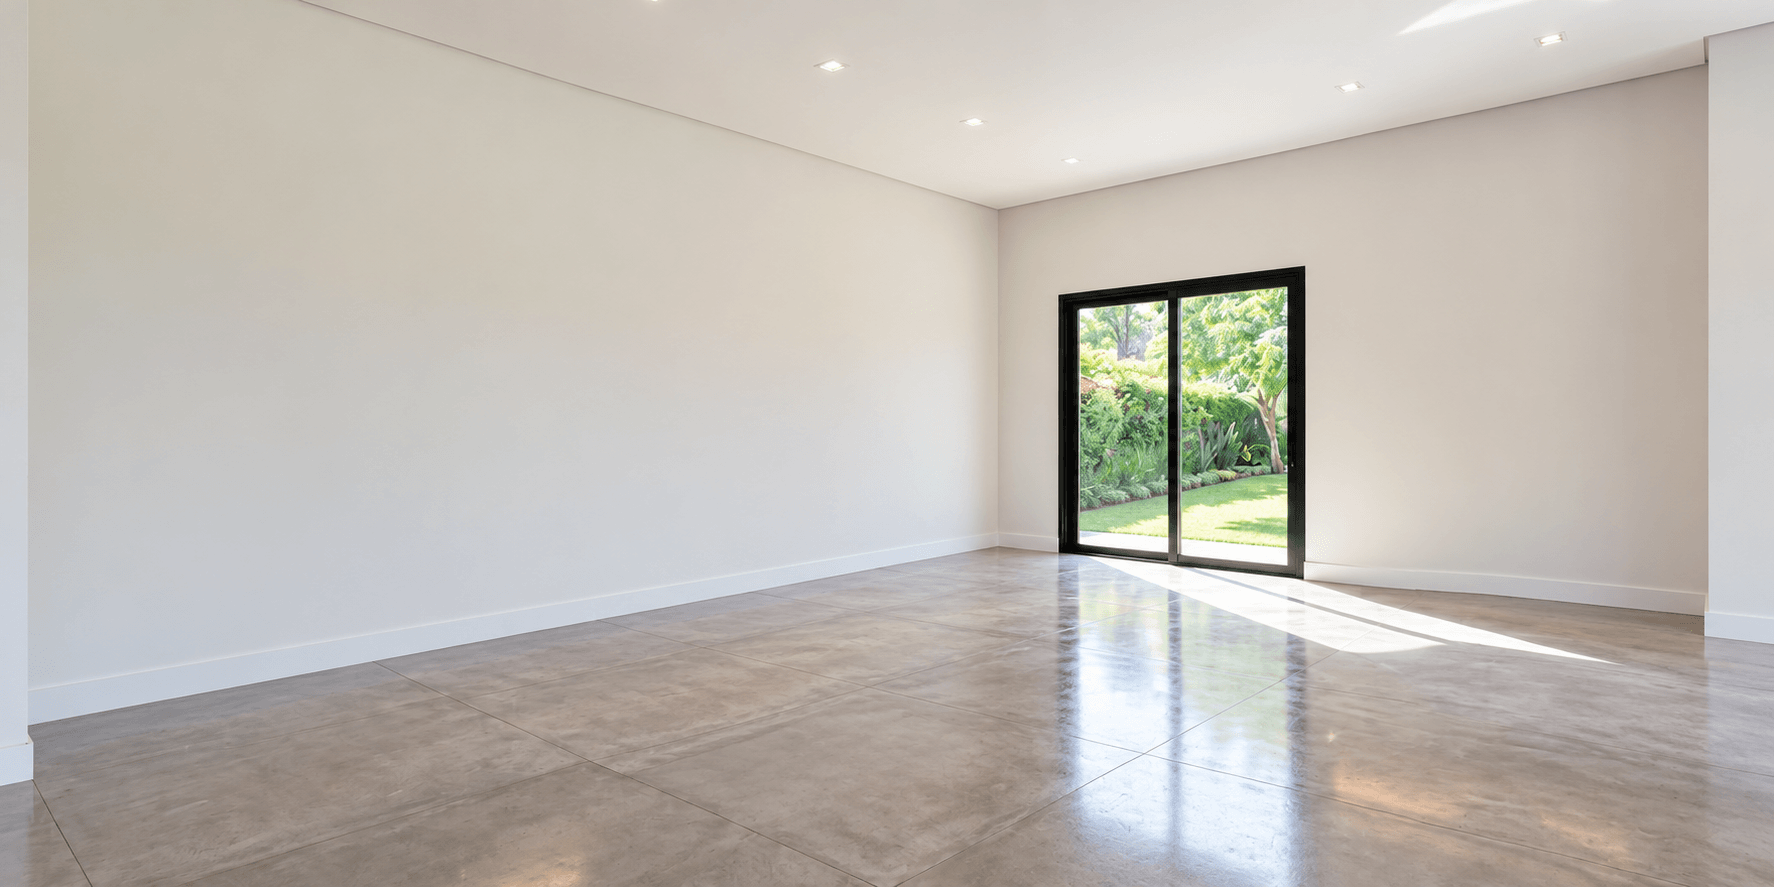
Move from a room photo to an interior proposal. Explore cabinetry, a material palette, and furniture together so the design reads as one idea.
- Test finishes such as timber, stone, and painted cabinetry.
- Explore furniture, lighting, and accessories in context.
- Refine the palette and layout before the client review.
03 / Real furniture, more realistic renders
Turn the furniture you choose into a 3D model.
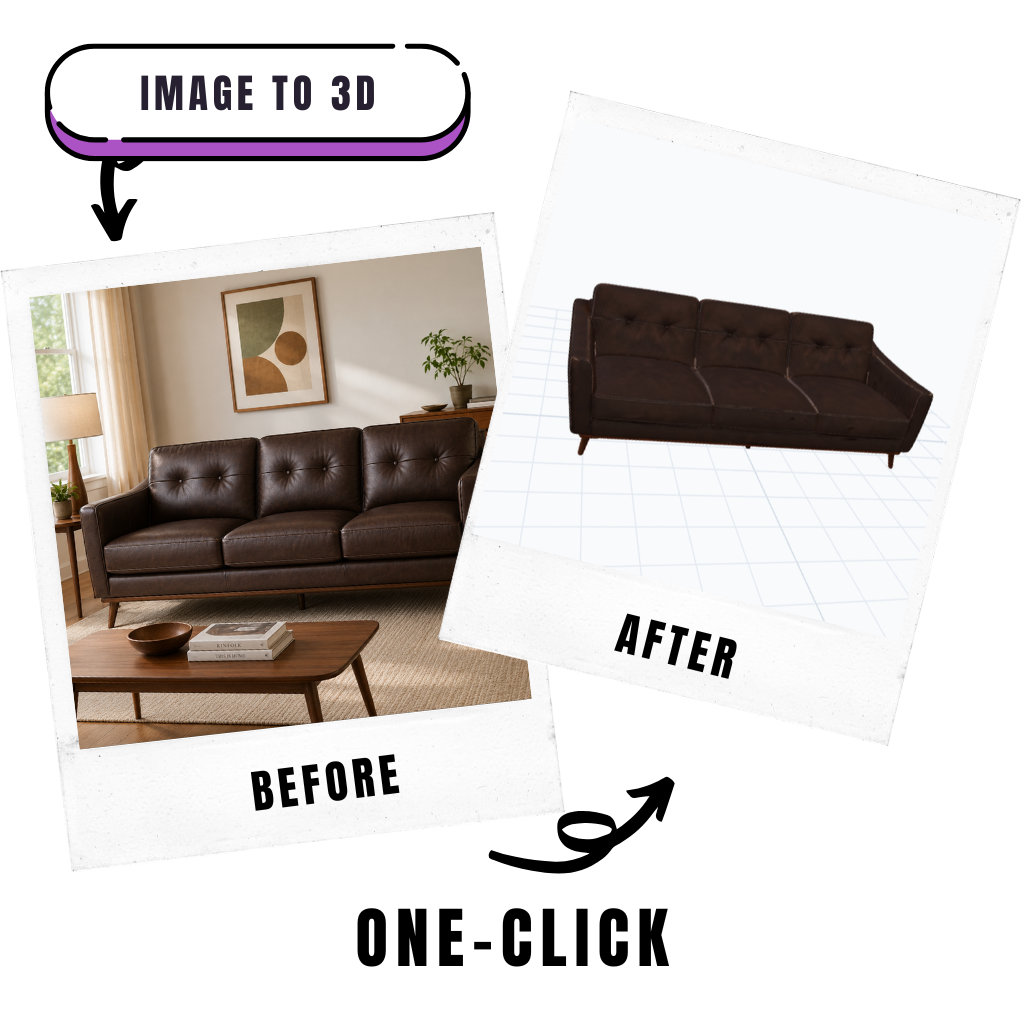
Upload images of real furniture and generate 3D models based on those pieces. Use them in SketchUp or directly in the FloorPlan AI editor to bring your actual furniture references into the design and make your renders even more realistic.
- Start from a clear photo of a real sofa, chair, table, or other furniture piece.
- Generate a 3D model to use in your SketchUp workflow.
- Place the model in the FloorPlan AI editor and render it in the room.
04 / Edit renders by area
Change just what you want to change.
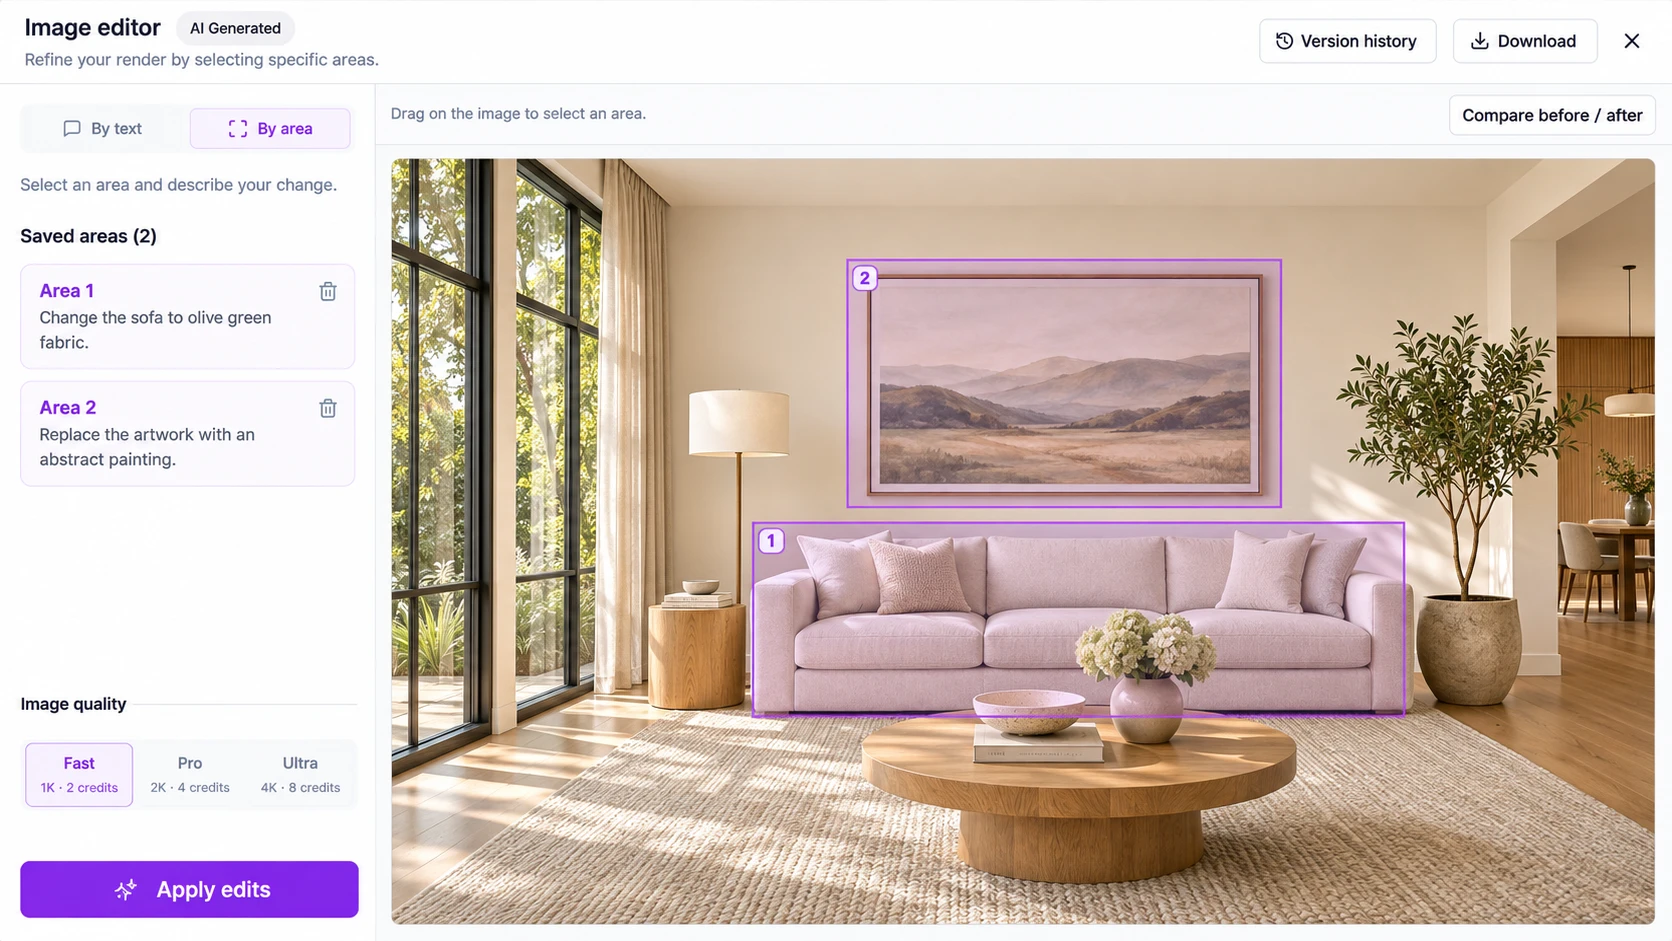
Select a specific area of your render and describe the adjustment. Change the sofa fabric, replace an artwork, or refine a finish with instructions for each selected area.
- Select the element you want to edit directly on the render.
- Give each saved area its own instruction.
- Apply the edits and compare the result before presenting.
05 / Materials, furniture & style
Give the conversation a few clear directions.
Use different palettes and furnishing choices to discuss the atmosphere your client wants. These separate room examples illustrate style directions to explore in your own project.
Japandi
Warm timber, soft neutrals, and a restrained furniture palette.

Industrial
Exposed textures, darker metals, and leather furniture.
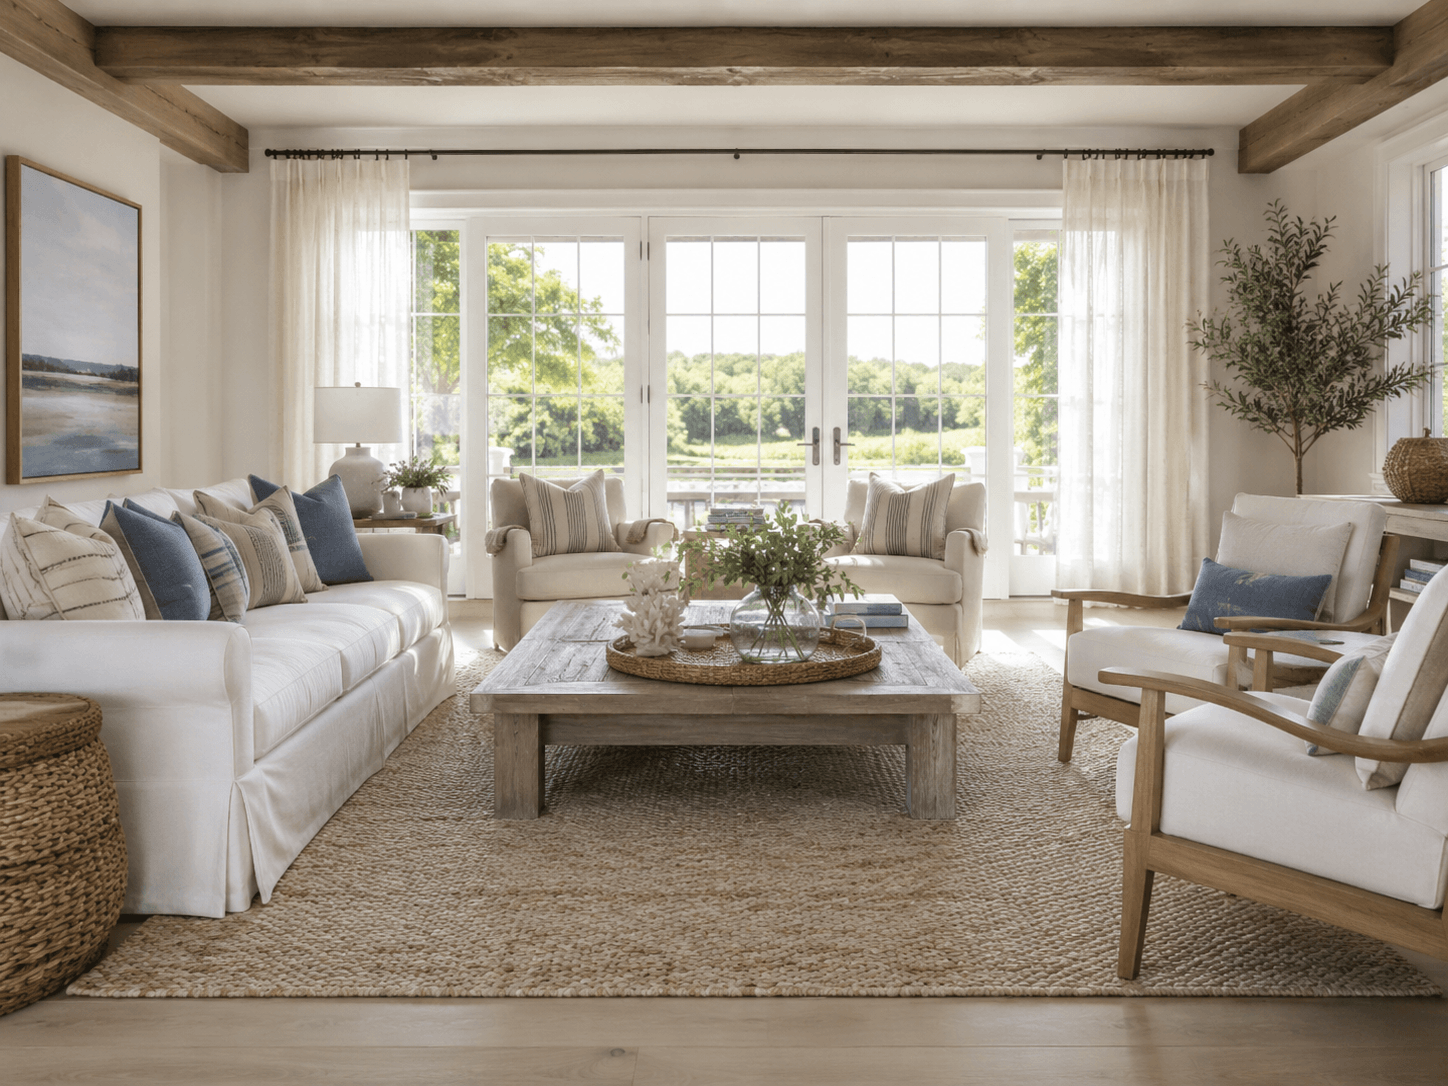
Coastal
Light finishes, natural fibers, and an airy color palette.
06 / Client presentation
Show a considered selection.
Choose the interior renders that best explain your proposal, then present them alongside the plan and a clear description of your design choices.
- Lead with the preferred design direction.
- Include an alternative to explain key material or furniture decisions.
- Use the original room photo to make the proposed changes clear.
Explore the tools
A focused toolkit for interior designers
Redesign the room
Generate interior concepts from a room photo or plan context.
Explore featureRefine furniture placement
Upload a floor plan or sketch, then edit the layout and furniture in 2D and 3D.
Explore featureReal furniture, in 3D
Turn furniture photos into models for SketchUp or the FloorPlan AI editor to create more realistic renders.
Explore featurePresent the direction
Bring your layout and project visuals into a presentation board.
Explore featureA few helpful answers
Before you start
Can I upload a floor plan or sketch and edit it in 2D and 3D?
Yes. Upload an image of your floor plan or sketch to generate an editable layout. Refine the design in the FloorPlan AI editor in 2D and 3D, adjust the furniture arrangement, and choose interior views for rendering.
Can I turn photos of real furniture into 3D models?
Yes. Upload a clear image of a real furniture piece and generate a 3D model. Use the model in SketchUp or directly in the FloorPlan AI editor to bring furniture based on your actual selections into the project and make your renders more realistic.
Can I edit only a specific part of a render?
Yes. Use the render editor to select an area and describe the change you want, such as a different sofa fabric or a new artwork. You can save multiple areas with separate instructions to target just the elements you want to modify.
Can I redesign an existing room from a photo?
Yes. Upload a reference photo in the rendering tool and describe the changes you want to explore, such as a new furniture arrangement, color palette, materials, lighting, or a different overall style.
Can I compare materials, furniture, and styles before presenting?
Yes. Generate variations with different prompts or style directions, then refine the finishes, furnishings, and mood. Review the alternatives and select the images that best communicate your proposal.
Can I use these renders as a specification for purchasing?
The renders help communicate a design concept. Confirm product selections, dimensions, material samples, and finish specifications separately before ordering furniture or approving the final work.
Your next project starts here
Make the next design decision easier to see.
Bring your plan or sketch, design in 2D and 3D with furniture based on real pieces, and refine your renders for the client presentation.
Start an interior render