
For Real Estate Professionals
AI Tools for Real Estate Agents
Create staged property images and compelling floor plan presentations. Help buyers picture the space with furnished room visuals and a layout that is easy to understand.
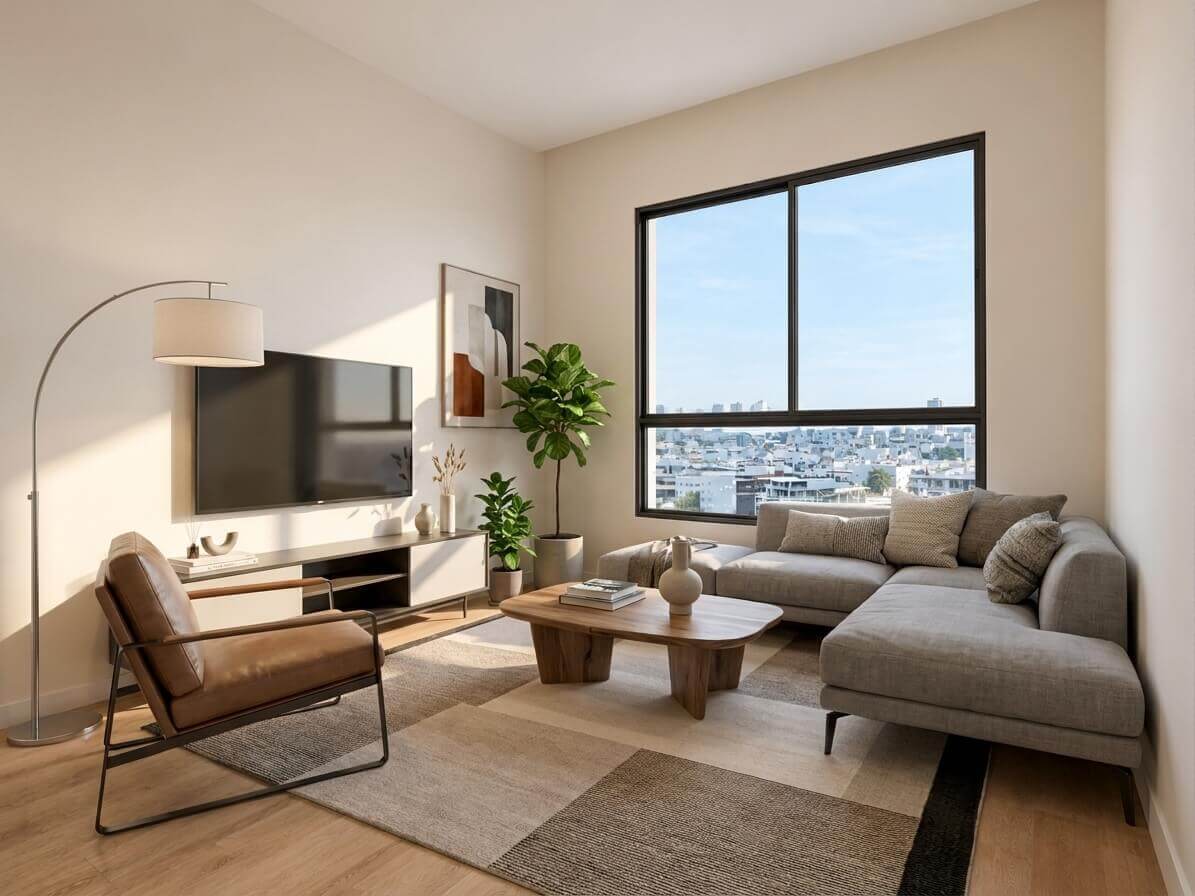
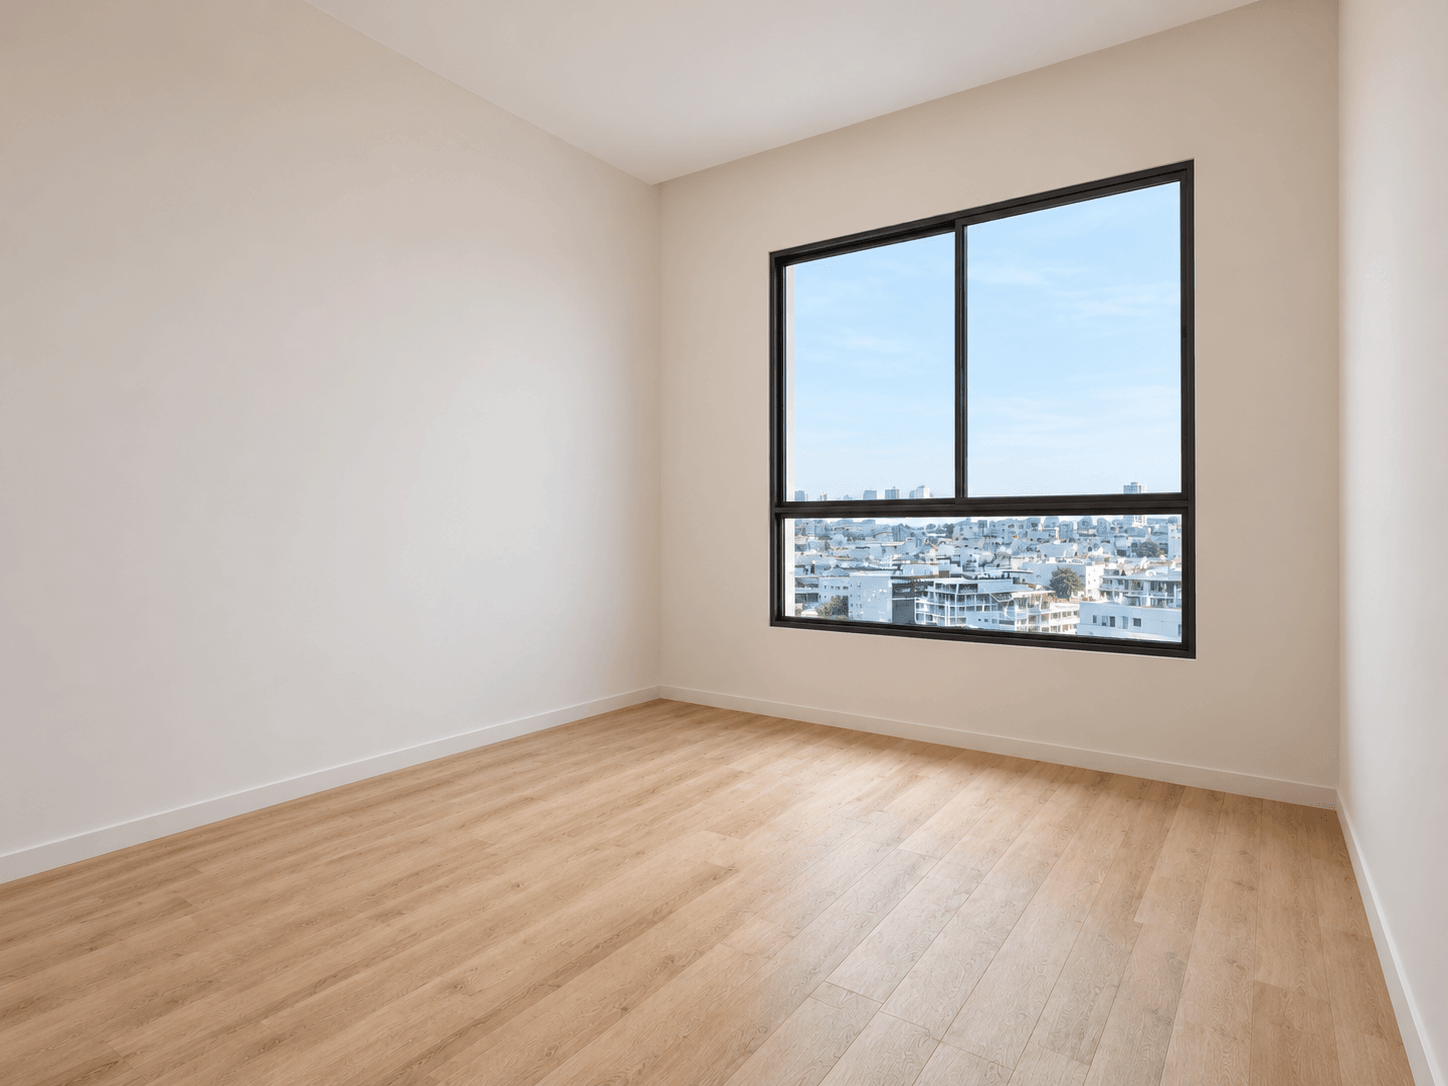
Drag left or right, or use the arrow keys. Home shows the staged image; End shows the original photo.
Your workflow, connected
From property assets to listing visuals.
- 01
Gather the originals
Start with clear property photos and an existing floor plan image when available.
- 02
Virtually stage rooms
Add furniture and decor to empty room photos to illustrate how the space could be used.
- 03
Render the floor plan
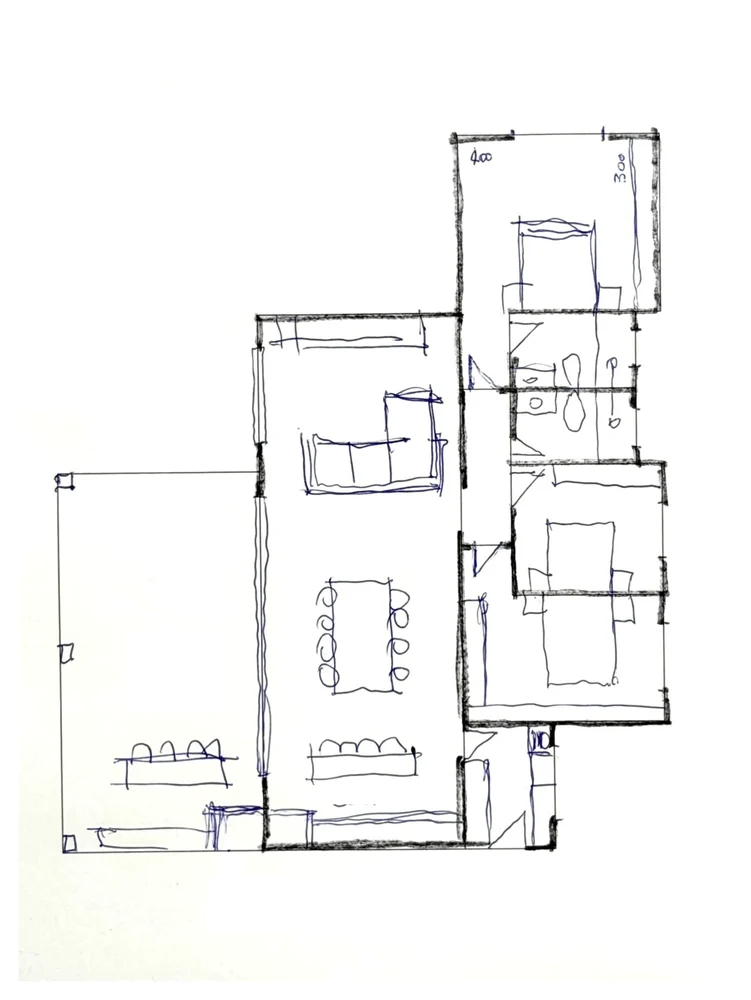
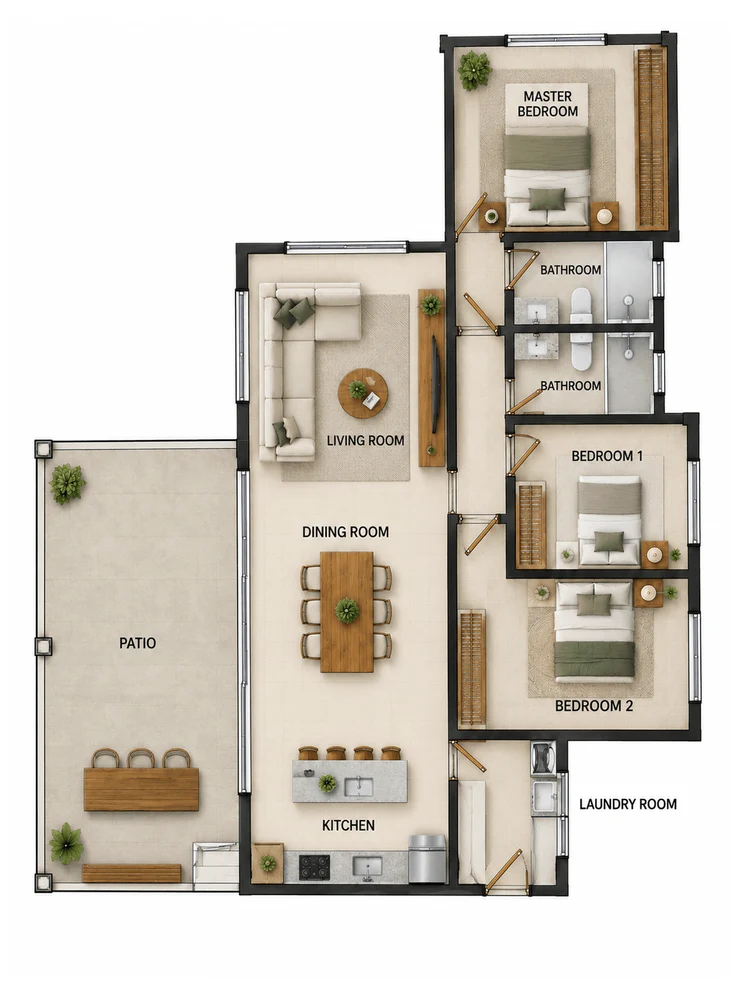
Import or create the layout, review room details, and generate a furnished top-down plan.
- 04
Prepare the listing
Select your images, label virtually staged photos, and pair them with the plan for your listing materials.
01 / Virtual staging
Show the purpose of an empty space.
Give an unfurnished room a recognizable use with a bed, seating, a rug, and other removable furnishings. Help buyers visualize the possibilities while keeping the original photo available.
- Create furnished visuals from your property photos.
- Choose a style that suits the property and the room.
- Include both original and clearly labeled staged images in your materials.
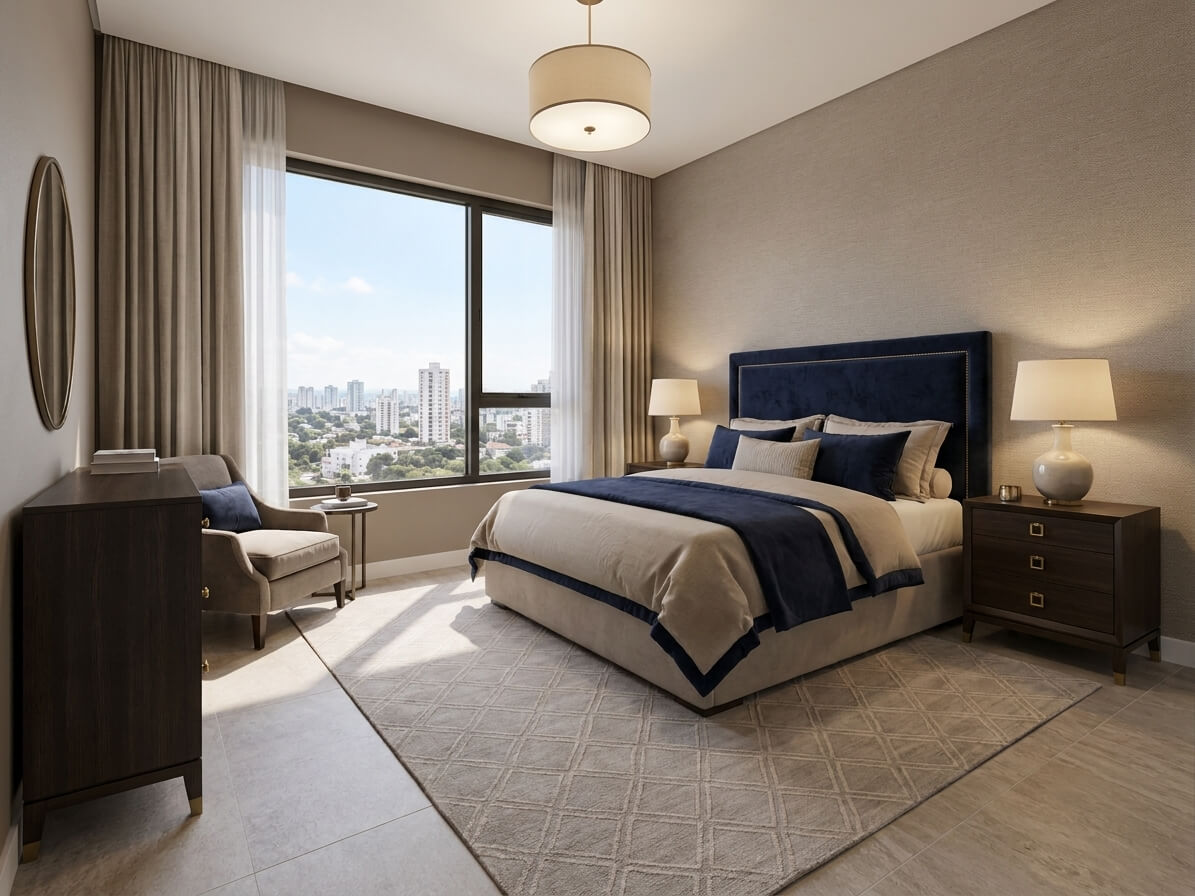
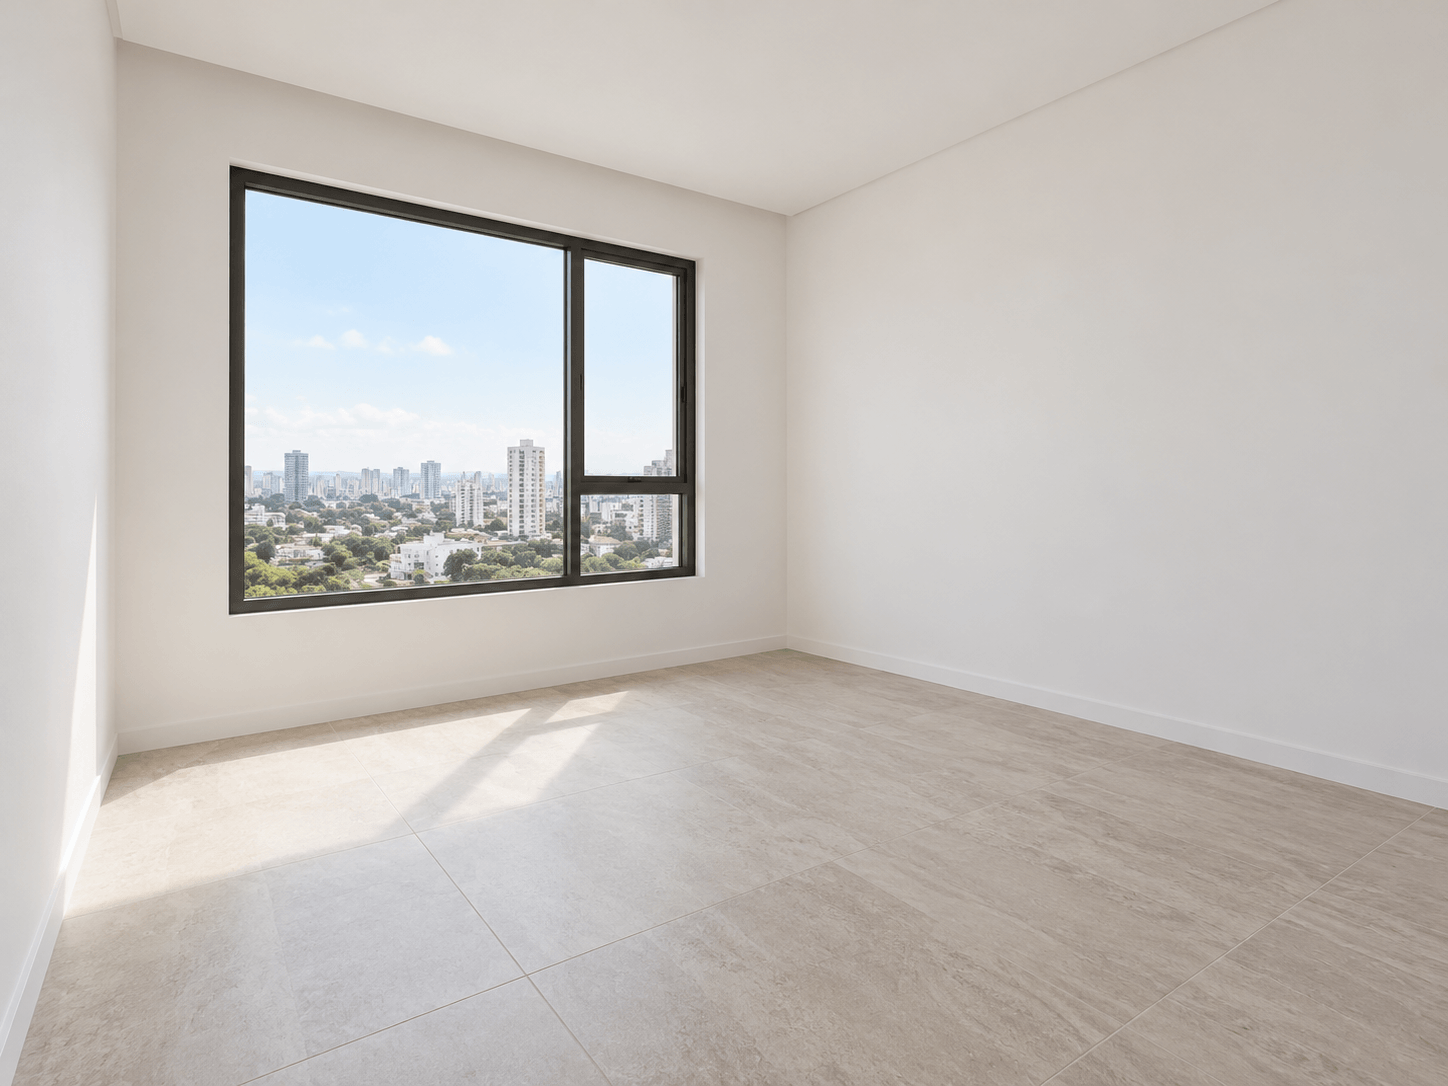
Drag left or right, or use the arrow keys. Home shows the staged image; End shows the original photo.
02 / Floor plan presentations
Make the whole property easier to understand.
Pair room photos with a top-down view of the home. A rendered plan adds furniture and material cues that help buyers follow the layout from one room to the next.
03 / Prepare the listing
A visual set with a clear role for every image.
Select the strongest assets and add them to the listing, brochure, or presentation you prepare in your usual publishing tools.
- An original property photo to show the current condition.
- A labeled virtually staged image to illustrate room use.
- A reviewed rendered floor plan to explain the layout.
- A presentation board to bring the plan and visuals together.
Explore the tools
A focused toolkit for real estate professionals
A few helpful answers
Before you start
What can I create for a property listing?
Create virtually staged room photos, rendered floor plan images, and a presentation board combining the layout and selected visuals. Use these assets when preparing a listing gallery, property brochure, or seller presentation.
Can I start from an existing floor plan image?
Yes. Upload a floor plan image, review the converted layout in the editor, and check room labels, openings, and dimensions before generating a rendered floor plan.
How should I present virtually staged photos?
Label them as virtually staged, retain the original property photos, and check that the result represents the room accurately. Follow the image and disclosure requirements of the listing service where you publish.
Your next project starts here
Help buyers picture themselves there.
Turn your property photos and floor plan into a clear visual story for the next listing.
Stage a property photo